Mushroom Big Macs

IMG_1438
Some things in life should be messy. Admittedly, most of those things are food-type-things. But one of the most indisputable messy pleasures in the entire spectrum of untidy things that just shouldn’t be messed with are burgers. There’s a reason Rosie of The Londoner refers to the very best she encounters as “filthy”. Aside from the obvious innuendo: a truly good burger is often signified by a trail of sweet burger juices worn down to the elbow.

IMG_1410

But the same is sadly not as true of veggie burgers. I’m not shitting on veggie burgers. I love ’em and have countless times opted for them over meat, but I don’t know if I could have called any of them “filthy” while summoning the mixture of primal desire and guilty pleasure that Rosie does when encountering an impressive tower of beef. Sure, it’s not exactly the mess that makes the burger good, but when the burger is good and you’re left with a plate swimming in the bloody remains of your enemy/meal it’s all the more satisfying.

IMG_1414Lucky thing is, I don’t think it’s the meat that makes a burger (shhh, I know). It’s all about condiments. Condiments and cheese.

IMG_1426

When I came across Baking = Love’s version of a homemade Big Mac I was intrigued, but didn’t think much of it until eating a not-really-worth-$19 burger the other night. There was nothing inherently wrong with it, but I was just a little meh about the whole thing. Poor condiment execution probably. And then, it struck me: what knowing the recipe for special sauce really means is that we are free to make Big Macs to suit our dietary needs/desires! It’s all about the condiments anyway.

IMG_1428

It’s been years since I ate McDonalds and I’ve never eaten it very often. When I was a kid I remember a cousin asking if we were “gonna get Maccas” on the way home and just looking at him blankly, blinking like an imbecile. Er, what you say? Meccers?

I found out years later when a McDonalds actually opened in my home town, but still, aside from those birthday parties back in primary school I’ve never been a very frequent customer. That said, everyone should have the pleasure of a truly trashy, fucking WRECK of a burger, and this, my friends surely is.

IMG_1447

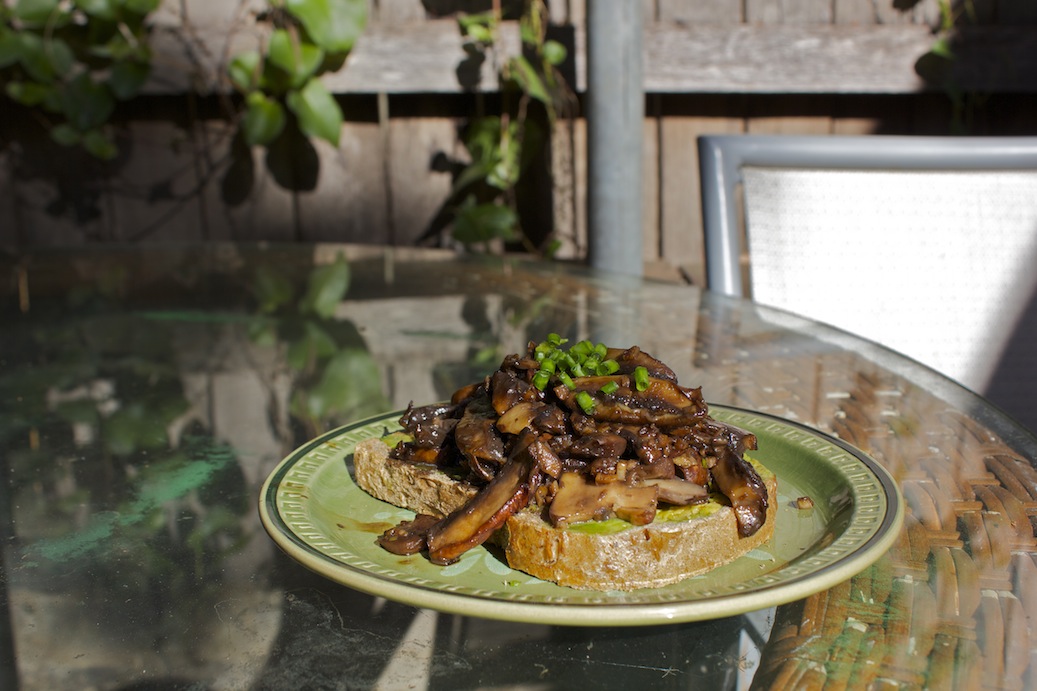
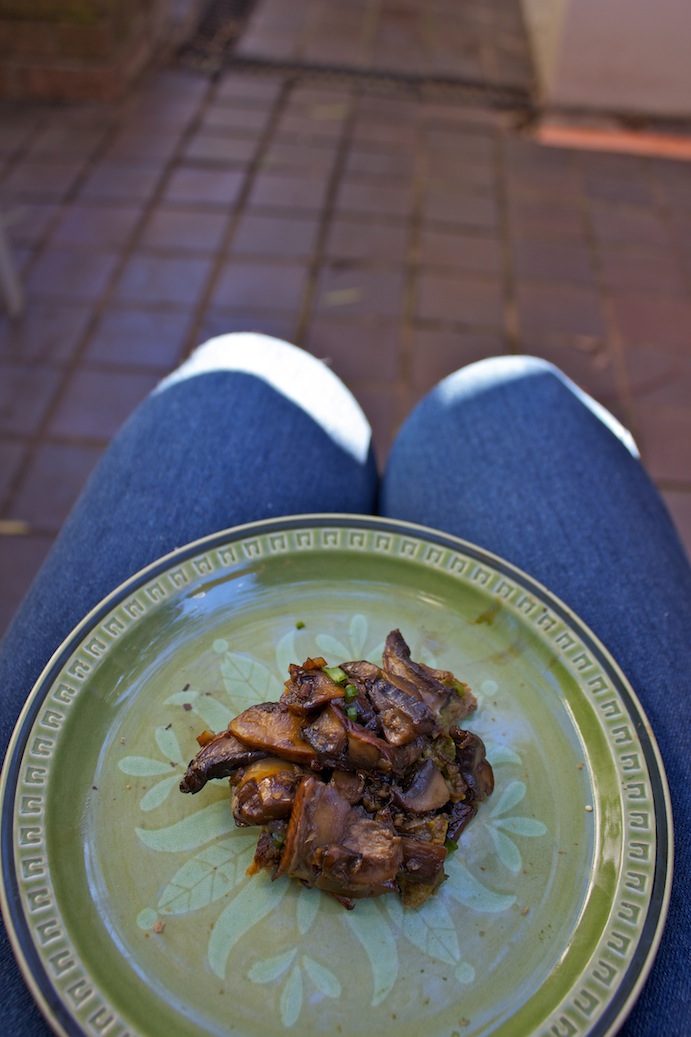
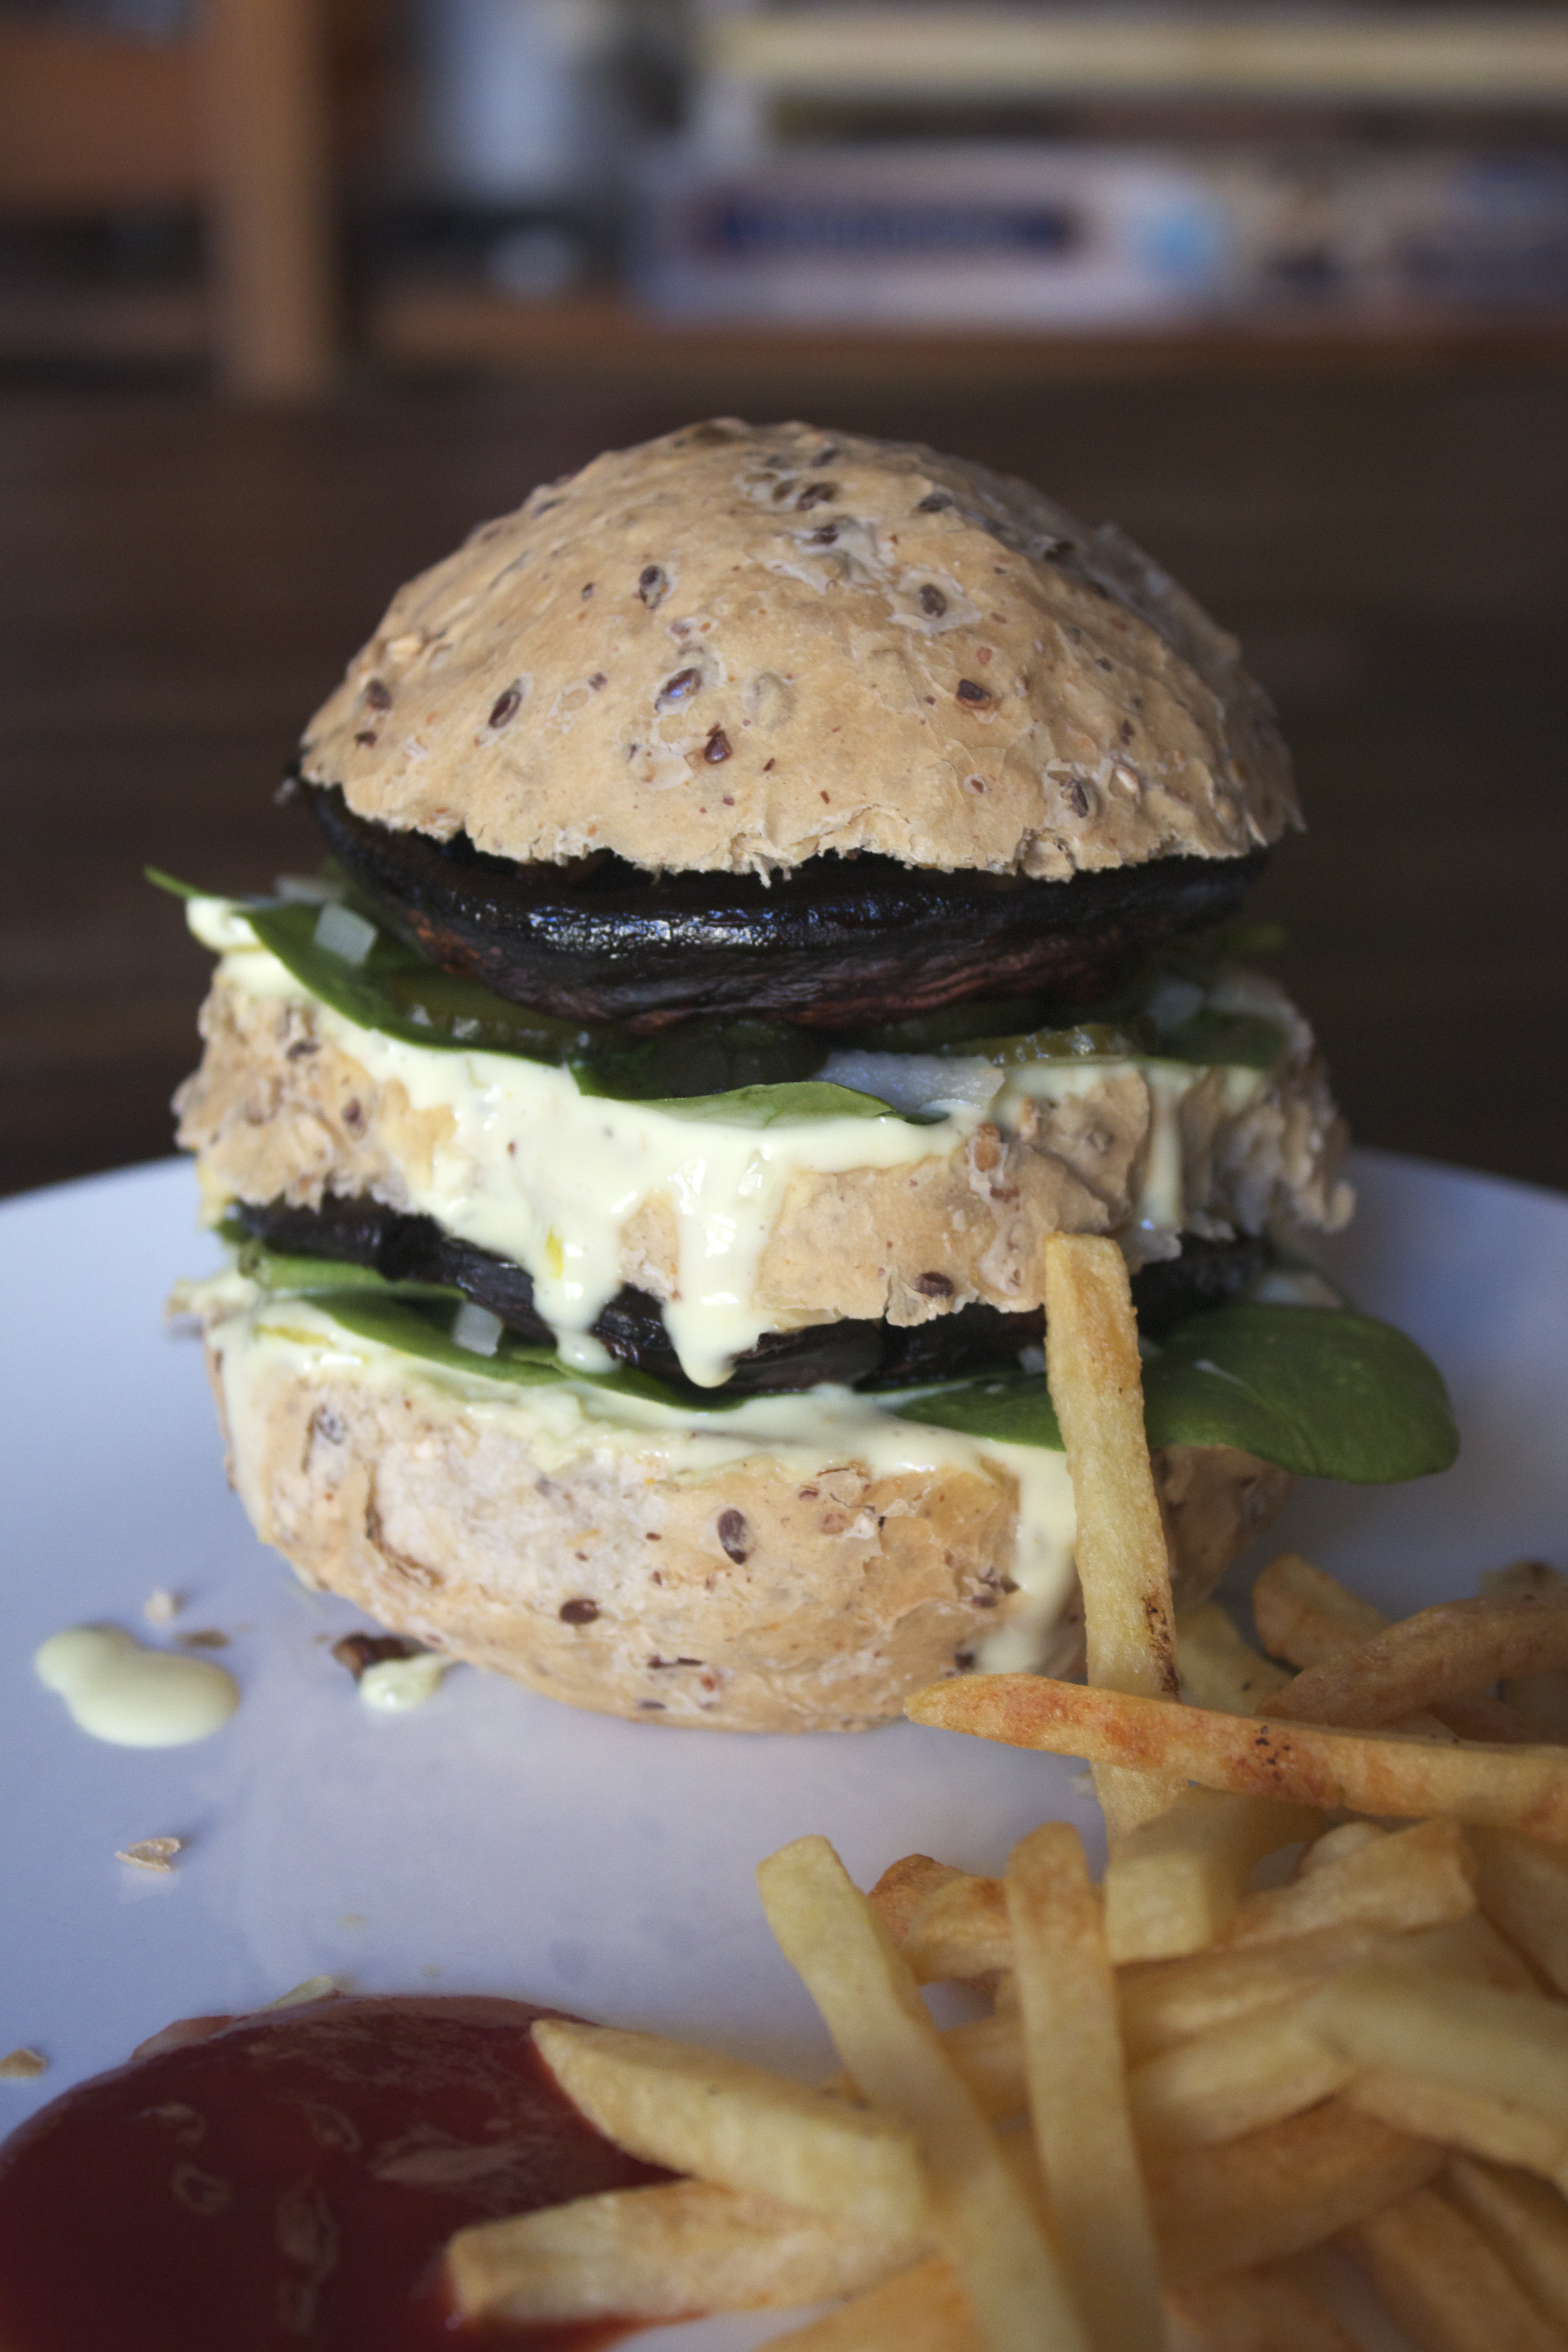
Oh, sure, anybody can get a mushroom to weep into a bun, but this thing has the classic messy burger gratification, plastic cheese for that true junk food feel, and you know what? The thing that makes it taste most like a fast food burger: teeny little pieces of onion. What? What what?

I KNOW

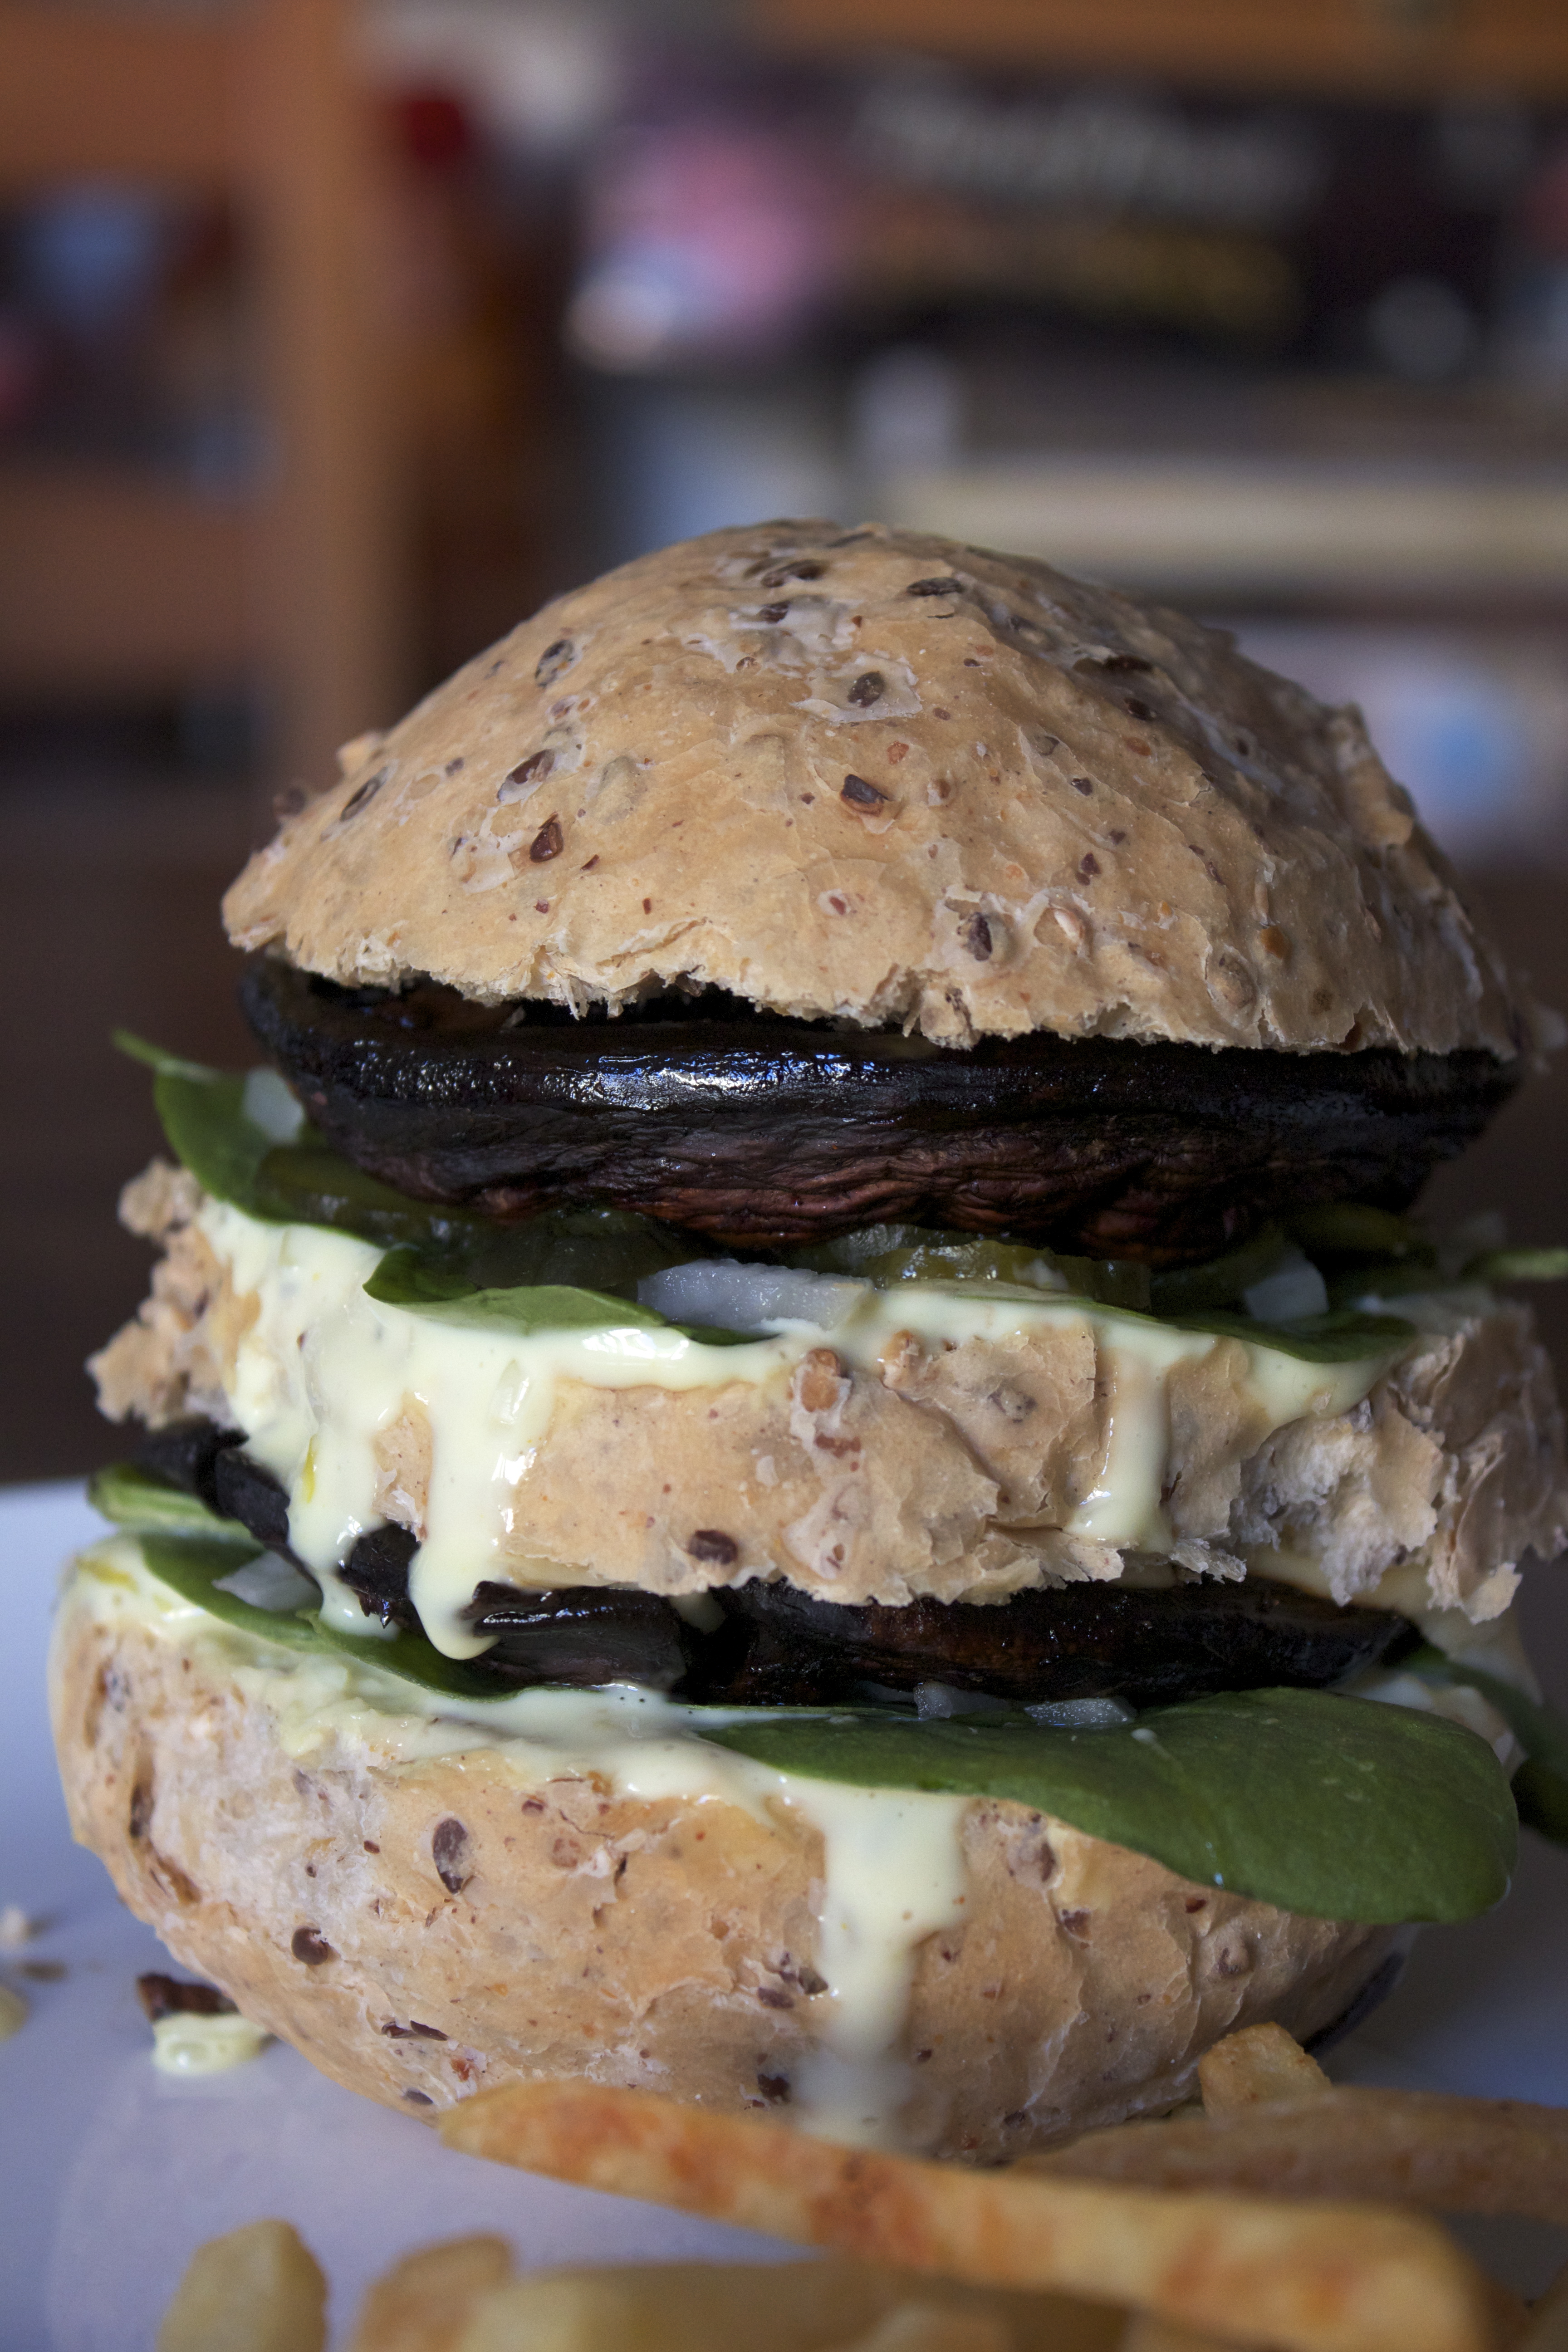
This thing is filthy. It’s sloppy. It’s a beast (to use one of Rosie’s other favourites). But the awesome thing? It’s only metaphorically.

IMG_1451

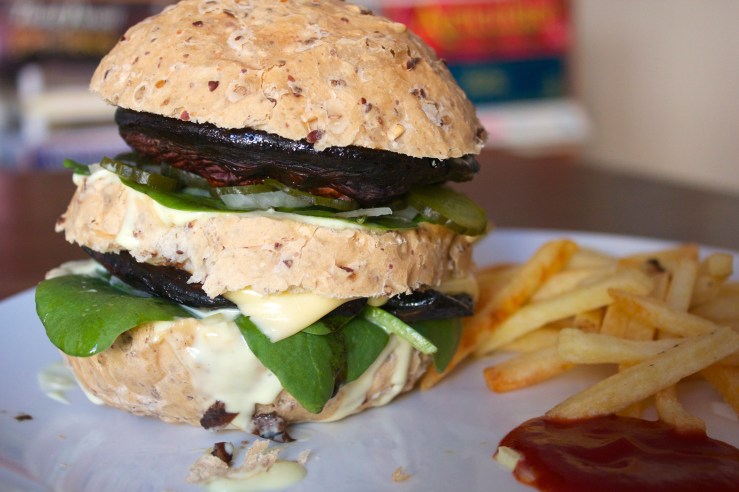
[My special sauce recipe won’t be a close to the original as the one here, because I couldn’t get the real american brand ingredients, but it’s close, and like I said, the cheese and onion really pull it together in terms of Big Mac taste. You can see the original here.]

Ingredients:

Special Sauce (makes enough for about 4):
1/2 cup mayonnaise
3 tbsp French dressing
1 tbsp + 2 tsp mustard pickles
1 tbsp finely minced onion
1 tsp white sugar
1 tsp white vinegar
pinch salt

Burger:
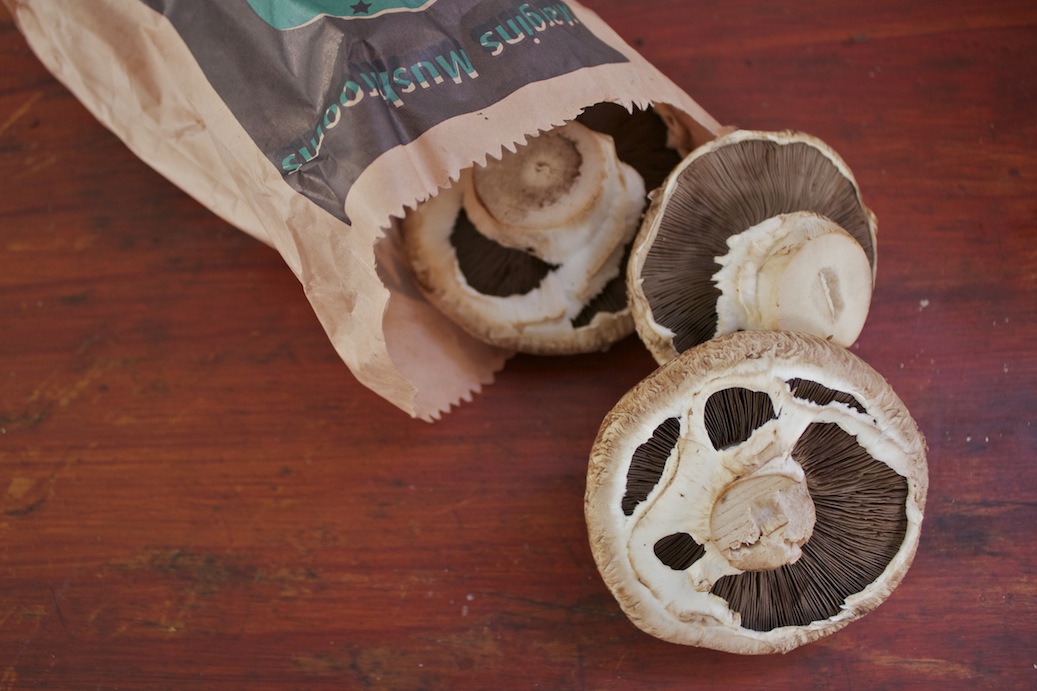
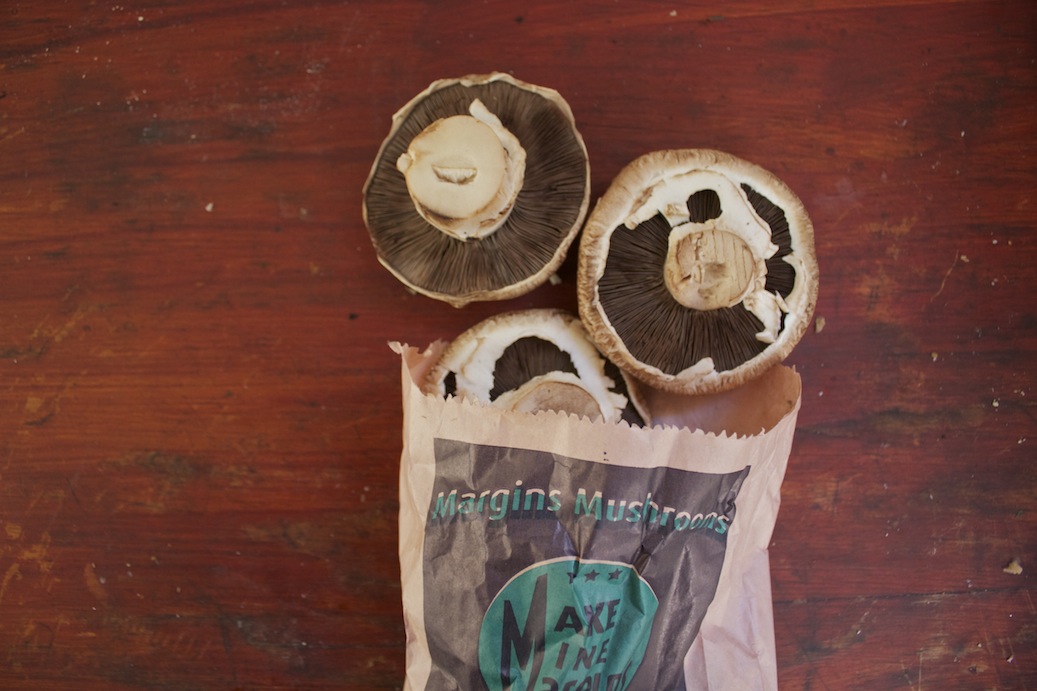
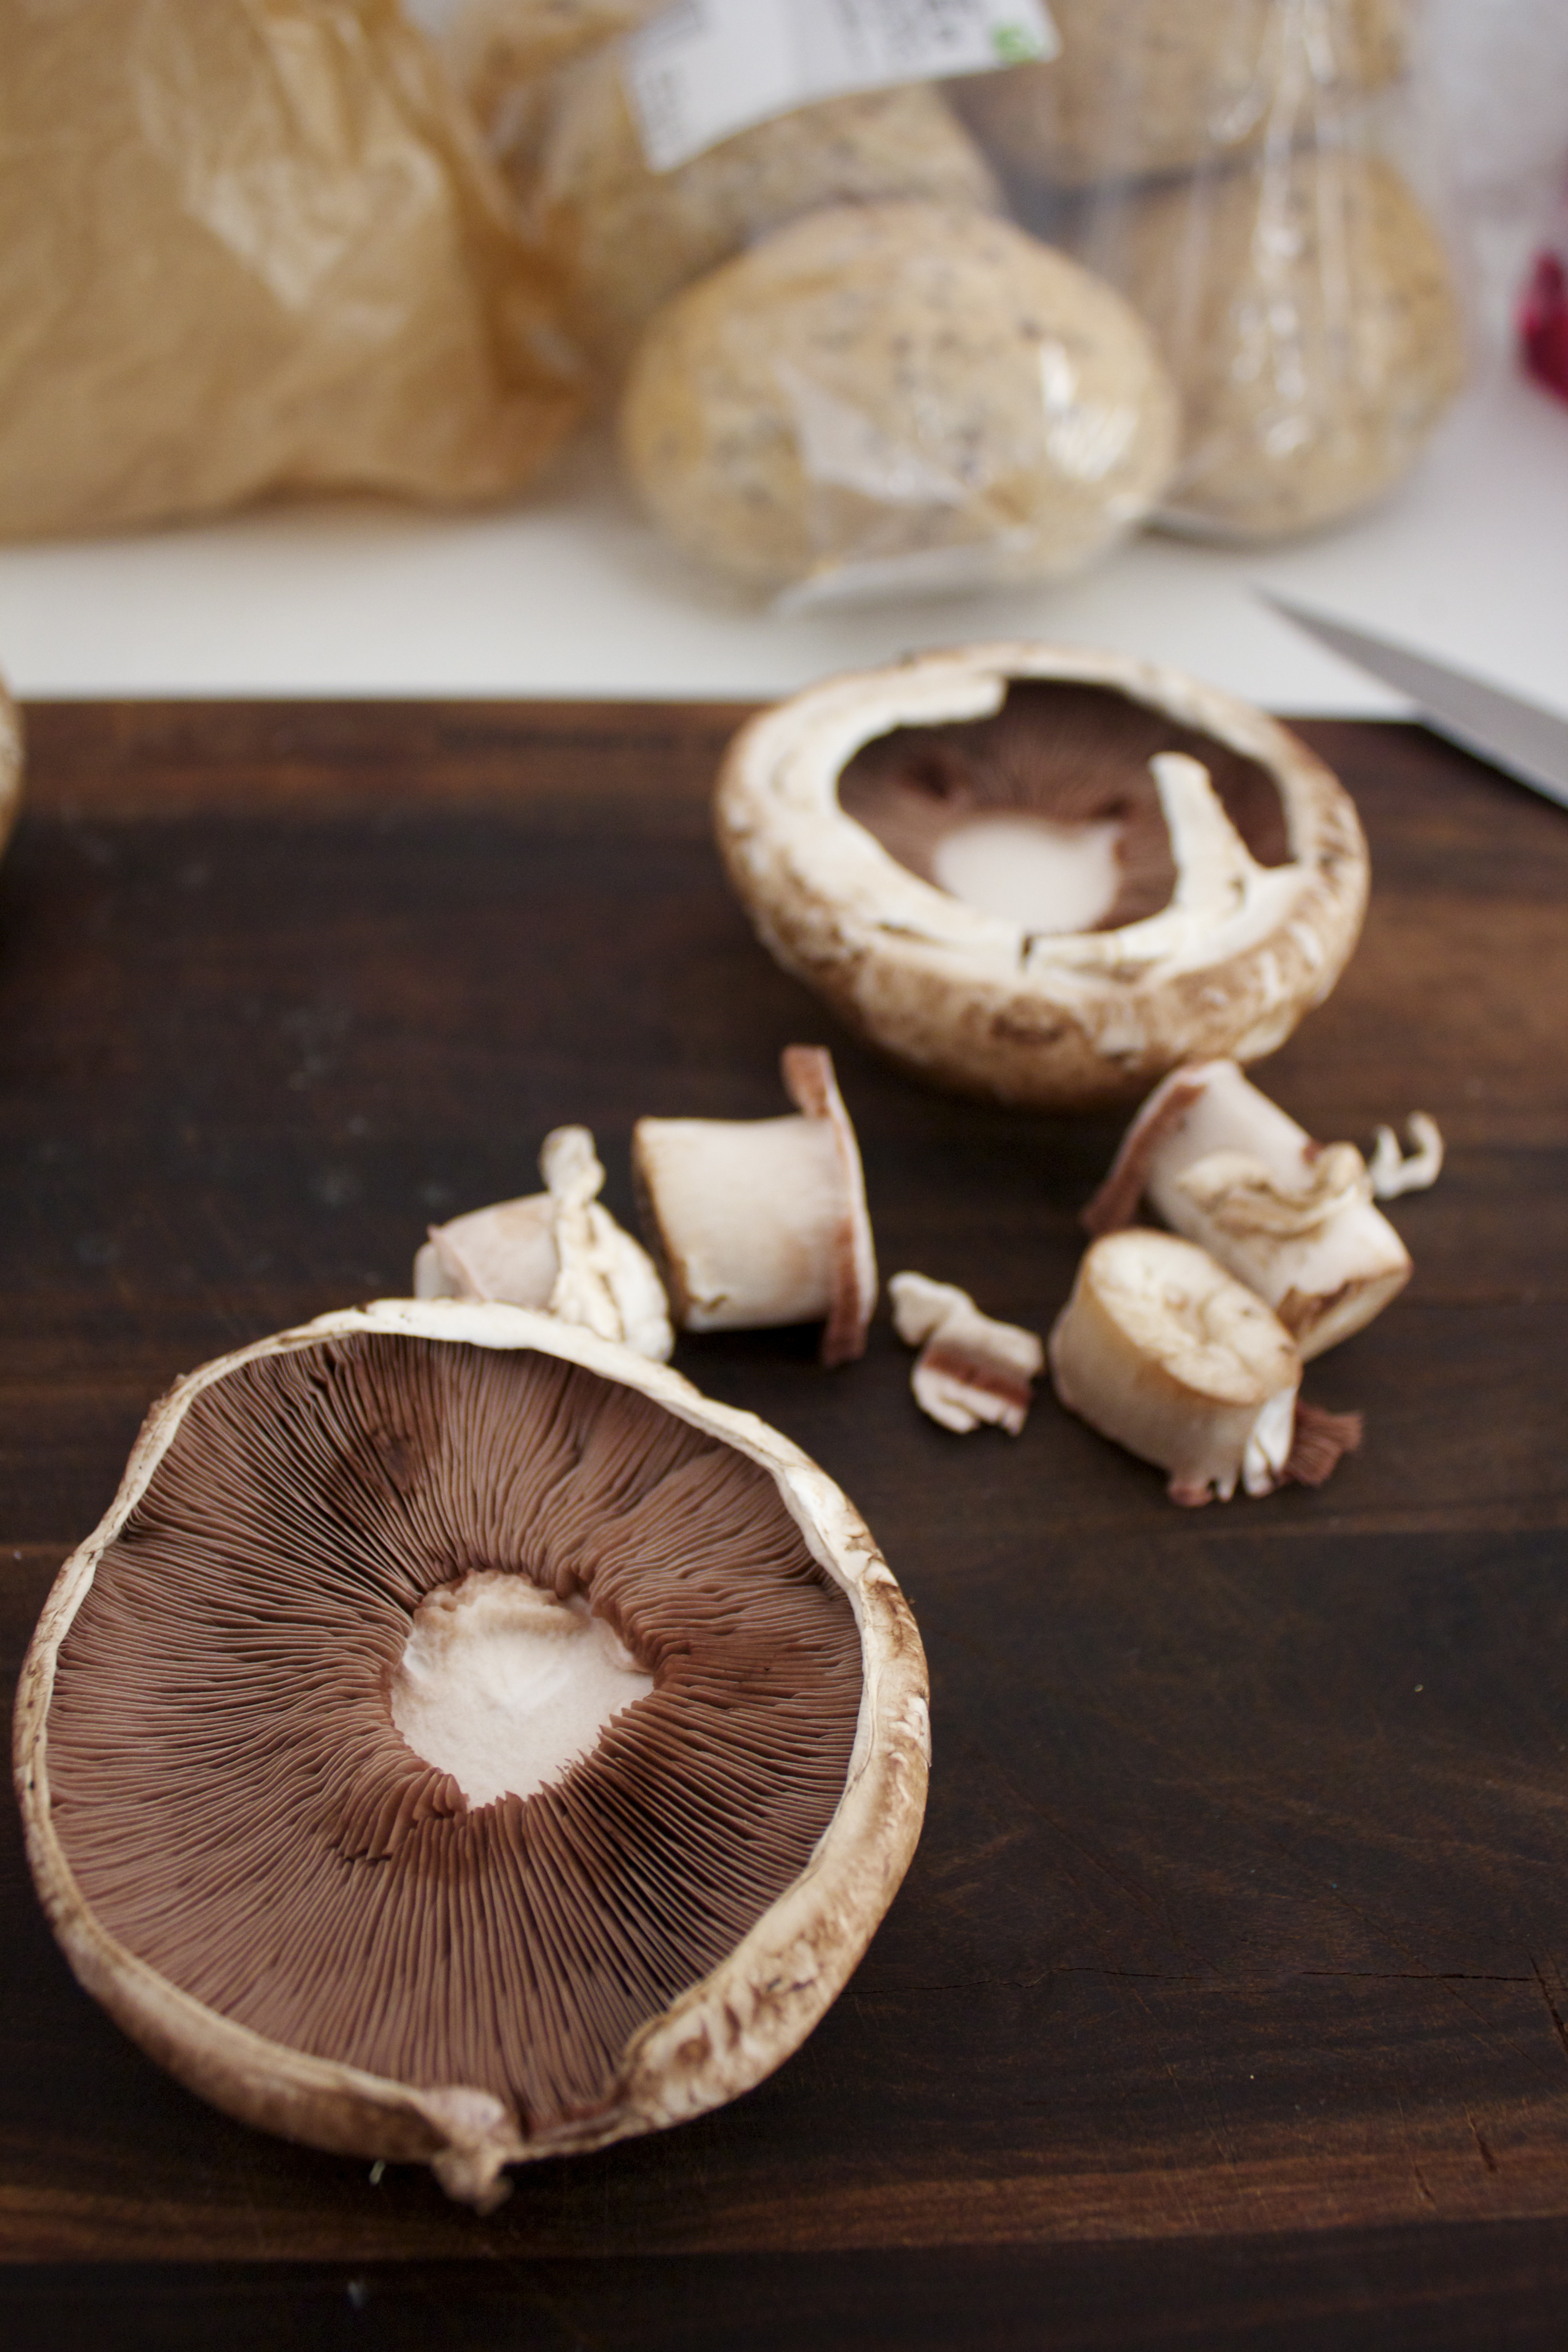
four large mushrooms
2tbsp soy sauce
2tbsp balsamic vinegar
1 tbsp olive oil
1 clove garlic
salt & pepper
nice round buns 😉
lettuce (I only had baby spinach, but iceberg is probably more authentic)
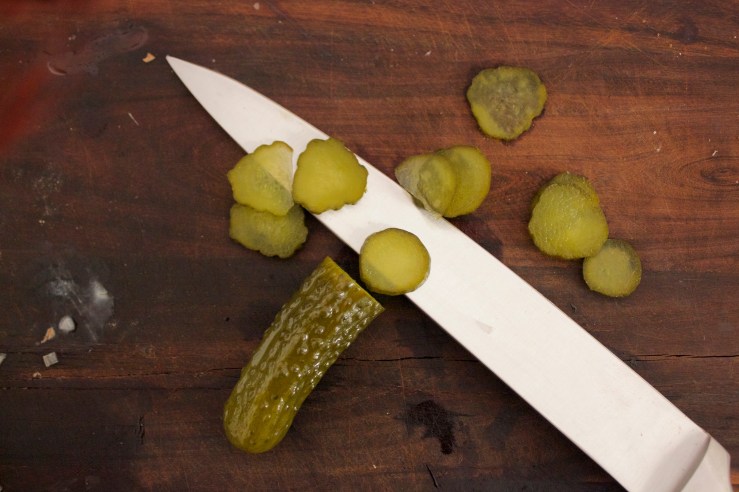
gherkins, finely sliced
packaged cheese slices
finely minced onion

Do ahead:
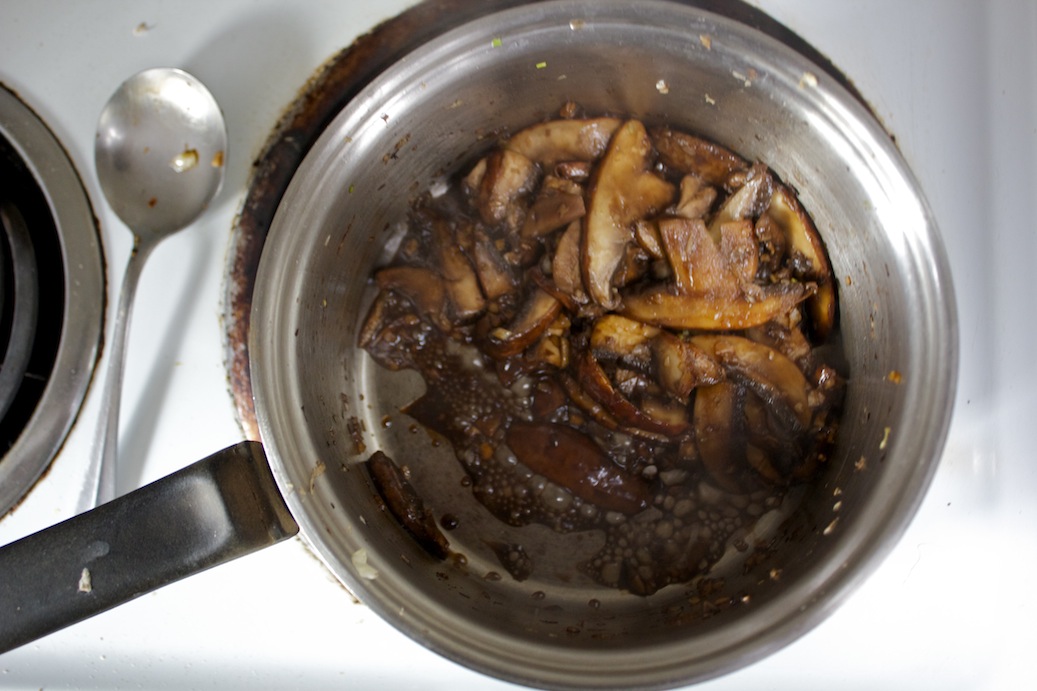
Combine ingredients for special sauce. Store in fridge for flavours to develop (you can not do this if you didn’t realise this was a thing). Combine ingredients for mushroom marinade – olive oil, soy sauce, balsamic, salt and pepper, garlic – coat stemmed mushrooms in marinade and let sit for two hours.

Directions:
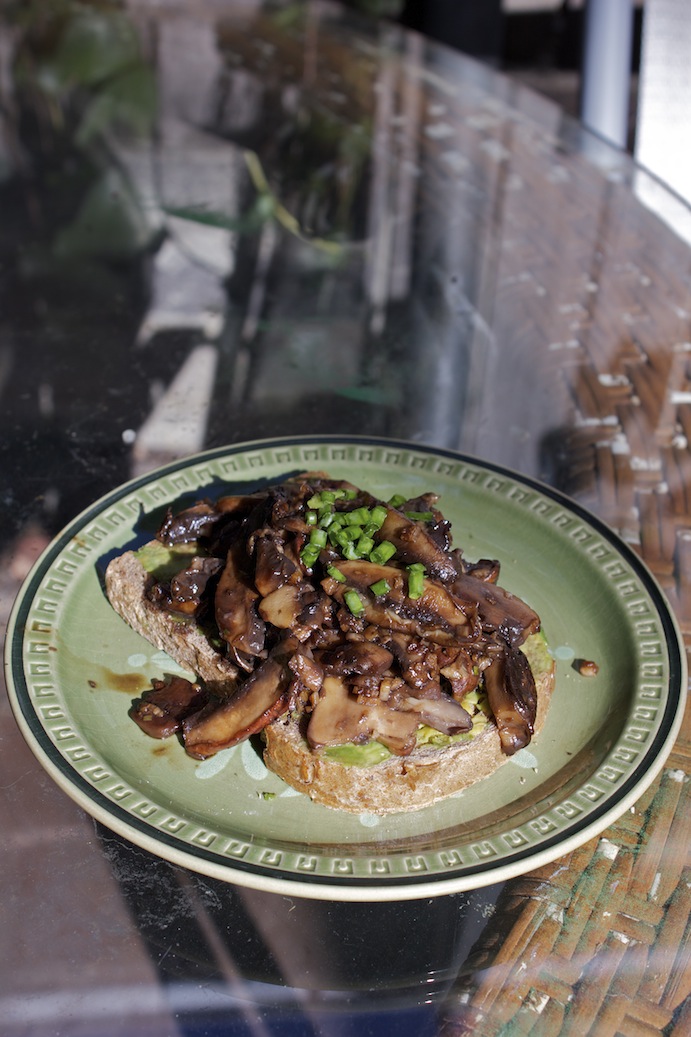
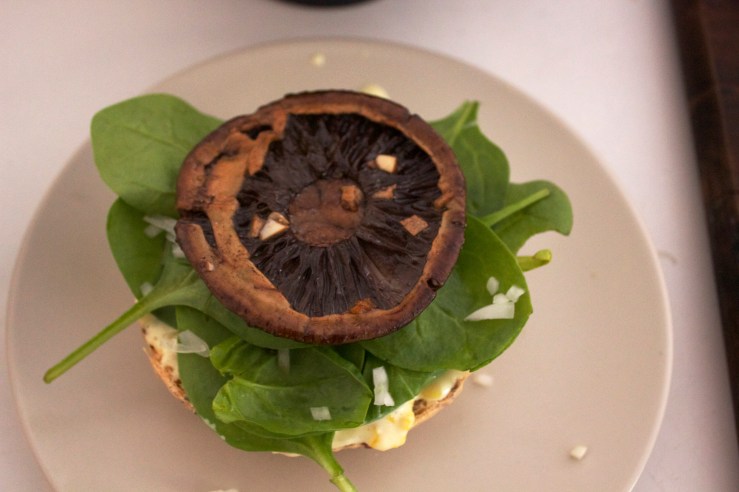
Put marinated mushrooms on oven tray and bake for 15-20 minutes until cooked through. Remove from oven and top half of them with a slice of cheese each. Return to oven for 30 sec or until cheese is melted. Cut buns into three parts. When mushrooms are done layer ingredients on bun in this order: bottom bun, sauce, lettuce, sprinkle of onion, mushroom, cheese, middle bun, sauce, lettuce, sprinkle of onion, sliced gherkins, mushroom, top bun.

Spanish-spiced split chickpea soup

IMG_0023

I’m in recovery this week. Recovery from last week’s bout of tonsillitis, recovery from various related ailments (hi there, blood test bruising), and recovery from an epic weekend of MURDER. That’s right: last weekend three carloads of my friends road-tripped down to the Southern Highlands to stay in a farmhouse (nay, The Farmhouse), sample some delicious local wines and participate in a murder mystery party.

IMG_9895IMG_9903

It was ridiculous fun. Everyone went all-out with costuming and some of us even went all-out staying in character. I was supposed to be a gossipy French woman married to one of the heir’s to a dukedom – the previous Duke being the murder victim. Turns out, I was also a gold-digging call-girl who unsuccessfully attempted murder with a bowl of poisoned strawberries. (My poisoning skills are about as good as my French accent.)

IMG_9902IMG_9909

Dinner was pretty amazing: three kinds of meat provided by the murder host, seemingly endless bottles of Southern Highlands red, and a whole heap of vegetables prepared by me. Unfortunately I’m not here to share my murder veggies with you (I didn’t really get the chance to photograph them). Instead I’m sharing my recovery food, and surprise, surprise if it isn’t our old friend soup.

IMG_0056IMG_0018

This is the kind of recovery soup that isn’t just about comfort. Not your oh-so-soothing chicken or savoury lentil concoction that you consume at the start of a malady. Nay. This one has a little kick to let you know that, yeah, you’re still a delicate flower, but you also deserve a bit of excitement once in a while.

IMG_9822

I call it “Spanish” because I took inspiration from a vegetarian tapas recipe, but really it’s not of any particular origin. It uses chana dal, which are split chickpeas often used in indian food. These are smaller (obviously) than full chickpeas, so quicker to cook. Also, they are hella delicious. Fortuitously this dish goes down way-too-smooth with a glass of Joadja Cabernet Sangiovese, which Patrick happened to pick up half a case of on our murderous weekend away. The warm berry and chocolate flavours of the wine taste even better with the soft spice of the cumin seeds and the slightly sour tomato and lemon. In lieu of the roaring fire and fur coats that kept us warm all Murder Weekend long, this combination is a pretty appealing way to keep winter at bay.

IMG_0065

Serves 4

Ingredients:
1 cup chana dal (or yellow split peas if you can’t find them, I guess)
2 onions
2 cups grated pumpkin
4 cloves garlic
2 tbsp cumin seeds
1 tbsp paprika
1 tbsp chilli flakes
1 can  tomato puree
juice of half a lemon
salt and pepper

Directions:
Soak chana daal for 4-6 hours. Discard excess water and rinse. Dice onions and sautĂŠ on medium to low heat. While those cook dice garlic and grate pumpkin. Add pumpkin, spices and garlic and heat until pumpkin starts turning to mush. Add tomato puree, then fill puree can up with water. Add 4-6 cans of water to pan and let simmer until chickpeas are tender – about half an hour. Add salt and pepper and juice of half a lemon (or to taste). Can be served plain, with a drizzle of olive oil, a handful of cheddar or some other delicious topping. Yoghurt or goat’s cheese, perhaps?  Maybe you’re neither vegetarian nor lazy and you want some chorizo with that? Good idea.

Teriyaki Mushrooms

IMG_9295
Oh, man, it’s been forever, right? I’ve been super dooper busy, what with the PhD I’m doing (maybe you didn’t know) and family staying and just this week an old uni friend came up from Melbourne. Yay: friends! The other thing that’s been taking up my time is crochet! Sarah taught me a couple of weeks ago and I am hooked (LOL – good one). So, I’ve been eating pretty simply when at home and not really photographing anything.

But! I do have these mushrooms up my sleeve… Which is an interesting tactile sensation for all involved.

IMG_9254

IMG_9263

This is another simple one. But, I’ve realised that’s probably OK. In fact it’s great. I’m still regularly making the pumpkin porridge I posted over a month ago, because it’s simple and nutritious, which I daresay predisposes it to actually being made by you guys too. So, here we are: teriyaki mushrooms. Something to pile on a good steak or maybe sauté with other veggies, tofu and some rice for a vegetarian dinner. Personally though, it doesn’t get any better than mushrooms on toast. And these ones go down a treat on a hardy dark rye with a generous smear of avocado.

IMG_9284

I got these swiss brown mushrooms at the Eveleigh Farmers Market one Saturday with Sarah and Mum. The ‘shroom salesman was very chatty, showing us pictures of the mushrooms being grown and also one of his wife, “The Mushroom Queen of Woy Woy”. We also picked up some goat’s curd, a few phenomenal Billy Kwong pork buns, bunches of kale, purple carrots and beetroot and a huge slab of beef rump (which served as the innuendo portion of the trip). We hung out and ate amazing market purchases all weekend, but when my family finally cleared out, the fridge was still chock full of food. I didn’t want to waste these mushrooms on something where they would only be an accompaniment, so mushrooms on toast it was!

IMG_9281

Taking garlic mushrooms and giving them a Japanese twist is probably the least stupid idea I’ve ever had concerning mushrooms. Garlic and ginger are pretty sensible additions during these cooler seasons (good for colds ‘n’ shit) and, quite frankly, are too delicious not to put all over your mushrooms. Which you would then be an idiot not to put all over your everything, er, toast. Hop to it.

IMG_9287IMG_9298

Ingredients:
2-3 large swiss brown mushrooms
two cloves of garlic
tsp of grated ginger
2 tbsp soy sauce
1 tbsp sushi seasoning (or 1 tbsp rice wine vinegar and a pinch of sugar)

Directions:
Saute mushrooms, garlic and ginger for ten minutes on medium heat until softened on the outside. Add liquid ingredients and let reduce for five minutes. Serve on some really freaking rustic toast.

Beer bean stuffed chillies


IMG_7416

When life gives you ten limes for $2, make a whole bunch of mexican food. That’s what I always say. And by “always” I mean, just now. Because I did find myself in the situation of ten limes, some of which I had kinda planned on making into preserved limes before I realised how fast I was actually going through them. Especially once I started putting them in drinks.

IMG_7381

Here’s where these bad boys come in, because guess what? They’re giant green chillies perfect for stuffing withcheese and beans. And they were 50c each at the markets the other morning. I didn’t have my prime decision-making face on that day, but when I saw these I got excited, because I’d been wanting to try out a recipe from The Sprouted Kitchen cookbook that called for just this sort of thing. And limes. At least one of them.

I went and stood over the chillies, scooping four into my hands before pausing confusedly to look up at my sister. “I don’t know how many to get”, I explained, peppers spilling pitifully from my fingers (like larger, greener, gnarlier fingers on a large, green negligent hand).

“Six,” she said, “get six”. Which was actually the correct number for the recipe, as it turns out. Hurruh! I freaking love the markets. Take that giant hand!

IMG_7417

The only problem with this recipe is it can be kinda difficult to find these ingredients in Australia outside of a capital city. Even black beans can be hard to get your hands on. The point is: I have no idea what kind of chillies I used. I should have asked, but I was vague and fatigued and overwhelmed with market decisions. I’m sure you’ll forgive me. Banana chillies or whatever large chilli variety you can get your hands on are probably fine. Also, while I have seen canned chipotle somewhere in Sydney, I don’t remember where. I already had a small red chilli hanging around from mum’s garden, so went with that. The cheese I changed to more widely available cheddar, Jack cheese and cojita being pretty scarce hereabouts. Also, I added cumin, because I can’t help myself.

Below is my version of the recipe, which I’ve more or less translated into common Australian ingredients and measurements. And while this version differs form the original, these babies are still terribly delicious. You’d be awfully silly not to squirrel this recipe away in your brain, so that when the perfect chance arises to cook things inside other things you don’t miss it. And while you’re at it make a note to check out The Sprouted Kitchen for more whole food kitchen wizardry.

IMG_7379

Ingredients:
1 tsp olive oil
1 onion, diced
2 cloves garlic, crushed
1 small to medium red chilli, chopped (with half the seeds removed if you’re chilli-sensitive)
250g dried black beans
375ml of dark mexican beer (I accidentally used a light-coloured beer and it was fine)
1 tsp ground cumin
1/2 tsp ground cinnamon
6 large chillies
2 cups grated cheddar cheese
juice of 1/2 a lime
1 tbsp olive oil

Directions:
Soak beans in large bowl of water for 6-12 hours.

Add olive oil to a large pan on medium heat. Saute onion, chilli and garlic until onion is just softened. Add cinnamon and cumin and fry for a few moments until fragrant. Drain the beans and add to pan along with 2.5 cups of water. Stir and bring to simmer and cook for about 45 minutes, until the beans are just cooked. Add beer and cook for another 20 minutes, until beer has evaporated/been sucked up by the beans. Salt to taste and set beans aside.

Cut a slit down the middle of each chilli. Get rid of all the gunk inside: seeds, membrane, what-have-you. Set the chillies on a tray and use a brush or your hands to cover each in a small amount of olive oil. Preheat either the barbecue or actual grill or griddle to medium-high heat. In a bowl mix the cheese and lime juice. Stuff each chilli first with a few tablespoons of beans, then with a handful of cheese. Cook until the cheese is and chilli are both blistery, about 7 minutes. Then either turn down your grill/griddle or move to a less-hot part of the barbecue. Cook for another 10 minutes or until chillies are perfectly soft.

Serve with whatever mexican extras you fancy. I’ve gone with chunky guacamole, below.


For chunky guacamole:

Ingredients:
1 avocado
10 cherry or grape tomatoes cut into quarters
handful of fresh coriander
tbsp lime juice
salt

Directions:
In a bowl squish your avocado. Add quartered cherry tomatoes and coriander. Stir in lime juice. Add a few grinds of salt to taste.

Pumpkin, cherry tomato and blue cheese tart

IMG_7360

Awesomesauce: a term only suitable when referring to actual sauce. Or possibly, possibly, when referring to picnics. Which are, in my opinion, awesome, and which may contain traces of sauce. The only problem with picnics is how much room there is for things to go horribly wrong. The beauty of nature can be utterly demoralising, covering you in equal parts rain and ants. But it wasn’t nature that got the better of me last Thursday as I embarked on an evening of outdoor “dining”. It was my oven.

IMG_7354

Having assembled this vegetable tart well in advance, even remembering to pre-heat the oven, I was pretty sure I had things down. I checked on the tart about 20 minutes in. It didn’t seem as well cooked as I had anticipated, but if I turned up the heat it would still probably be done in plenty of time. So that’s what I did, returning another 20 minutes later to a still barely baked tart. Ugh. Clearly the oven had decided to quit making things hot. Well done, oven: 1 stars (It did attempt to cook the tart for a few minutes).

Going into fuck-the-picnic-is-in-15-minutes gear I shoved it in the microwave, cooked it for six minutes, then turned on the grill, took out the tray and let the tart sit in there with the door closed for roughly ten more minutes. For a moment it looked like the tart wouldn’t make it. The top was cooked, but when tilted to one side it would leak white liquid. I turned the grill off and left the tart inside while I hurriedly threw together some tomato and pesto salad instead. When the salad was assembled, I decided to check the tart one last time, just to be sure. And it was done! About 15 minutes late, I scurried off the park with my blanket, camera and miraculously cooked creation, to sit, eat and get overly enthusiastic about dogs with my friends.

IMG_7364

Shit: the park is a delight, the tart was a delight, I have no idea what I’m going to do without an oven, but maybe it’ll be OK.

IMG_7361

Ingredients:

1 sheet of shortcrust pastry
300g diced pumpkin
200g cherry tomatoes
1/2 purple onion
100g blue cheese
1/2 cup cream
1/2 tsp each salt and pepper
3 eggs
1 sprig rosemary

Directions:

Arrange one sheet of shortcrust pastry to cover surface of tart dish. Use more if you need. Or go wild and make your own pastry! Cut pumpkin into bite-sized pieces. Dice onion. Arrange tomatoes, pumpkin and onion in pastry. Crumble blue cheese on top. Whisk together eggs and cream with salt and pepper. Pour this over tart. Arrange rosemary on top.

Note:

I can’t accurately tell you how long to cook this for, but I’d guess maybe 40 minutes. Wiggle the tart around to see if it’s cooked all the way through. Or do what I did and tilt it, to see if it’s not just cooked on top. If it does look cooked on top but is not done on the bottom you can put foil over it to stop the top burning.

Baked haloumi and peach salad

IMG_5961

Sometimes everything falls apart in your hands, like so much vegan chocolate cake. (Not that I’m being disparaging about vegans or vegan food, it’s just my mum made me a vegan chocolate cake for my birthday and it was amazing, but cru-u-mbly). Then again, sometimes you only think things have fallen apart, when really, had you thought things through, you would have realised what you already knew: it is impossible to ruin haloumi cheese. Initially I set out on a quest for baked fetta with sweet slices of summer peaches. But how to make that into a meal? Perhaps the container of messaged kale taking up 1/4 of my fridge space would be the answer. And I could switch the fetta for haloumi – haloumi being firmer, more ready to survive a good tossing.

I should have known from the start that baking haloumi was risky business, but I threw it in a dish with sliced white peaches and some red onion anyway. Deciding that kale was a little overwhelming on its own, I mixed one cup of kale with two cups of mixed salad greens and awaited my tray of baking fruit and cheese.

IMG_5952

It all came out a bit of a mess, purple juices bubbling towards the haloumi side of the dish leaving the border cheese pale, deformed and clinging together. Nevermind though, the cheese on the edge of the pan was nicely golden and the salad turned out tasty enough, thanks to the indestructible deliciousness of cheese in general.

If I had my time again there are a few things I would change. Firstly, despite desperately wanting to reduce the amount of washing up anyone has to do, the peaches and the cheese need separate dishes. Secondly, I’d change the kind of leaf to a few simple handfuls of baby spinach, which is softer and subtler than kale, but nicer wilted than mixed salad leaves. Finally, I’d add some hazelnuts to the mix, just to give the salad some semblance of structural integrity. As an alternative you could leave the peaches fresh and just pan fry the haloumi, maybe adding some mint to the salad. I’m sure this version would be just as nice, especially in the heat we’ve been having. All in all I’m sure I’ll make this again, just a little differently. Which is good, because it means I’m learning, even if it’s stuff I thought I already knew.
IMG_5953

Ingredients:

4 peaches
1/4 Spanish onion
1 tbsp balsamic vinegar
pepper
100g haloumi cheese
3 cups baby spinach leaves
1/4 cup whole hazelnuts
handful of mint (optional – but of course everything is)

Directions:

Preheat oven to 200 degree Celsius. Slice haloumi into bite-sized pieces and arrange sparsely on tray or baking dish. Put in oven. Slice peaches into thin wedges and onion into cemi-circles. Add to second baking dish with vinegar and a good grind of pepper. Put second dish in oven. Leave trays in over for 15mins or until haloumi is golden on top. In the meantime add spinach leaves to salad bowl. When cheese and peaches are cooked, leave to cool for ten minutes. Finally add warm ingredients to salad bowl, finish with hazelnuts and mint if you want it.